For the past couple of week I've been playing around with Eleven labs Conversational AI tool.
I have to say, it's quite impressive.
Its very intuitive, filled with features and fairly simple to use.
At least the basic stuff such as connect it to an internal knowledge source (base), collect data from website visitor, change voice, and implement to your website.
In this tutorial I'll show you how to build you own website AI voice agent.
The agent will:
- be able to talk with website visitor in three languages (English, Croatian, Portuguese)
- will guide visitor to make a decision on how the agent can help
- have three different scenarios of conversation based on the visitors response/selection
Alright, lets go!
Step 1: Create free Elevenlabs account. The Conversational AI is also available on free feature. You only get 15 min of talking time, but it's enough to see how it works and if you wanna add it to your webiste.
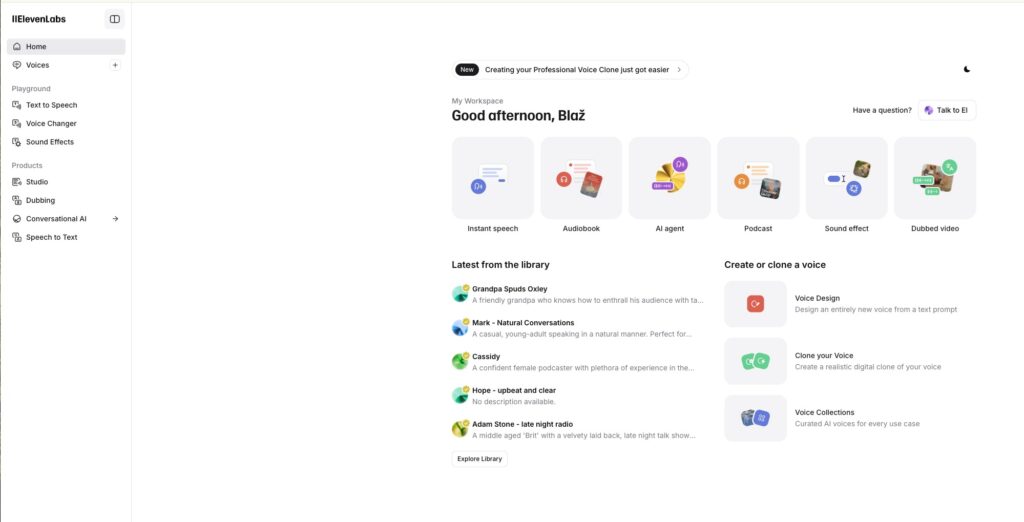 main Elevenlabs dashboard after you login
Next, head over to the Conversation AI in the left menu.
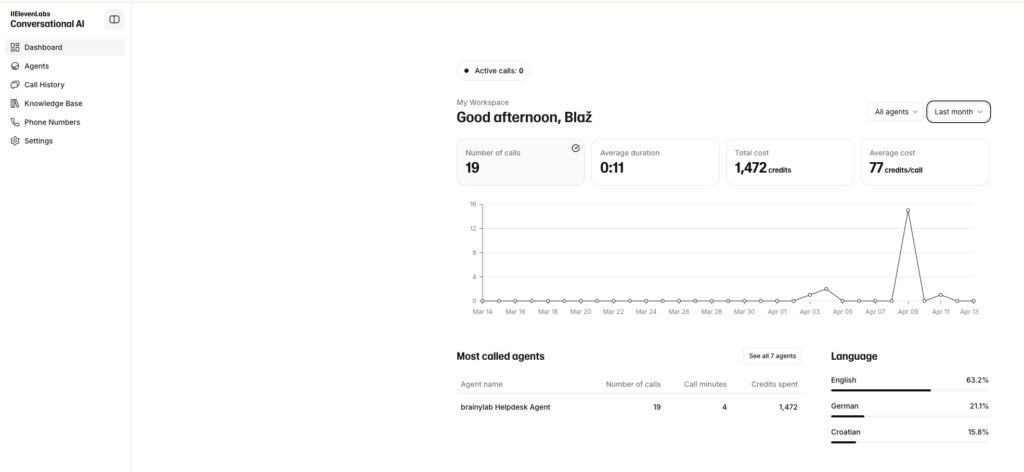 Conversational AI dashboard
Go to Agents and click + on the left side of the sidebar. This will open the creation protocol.
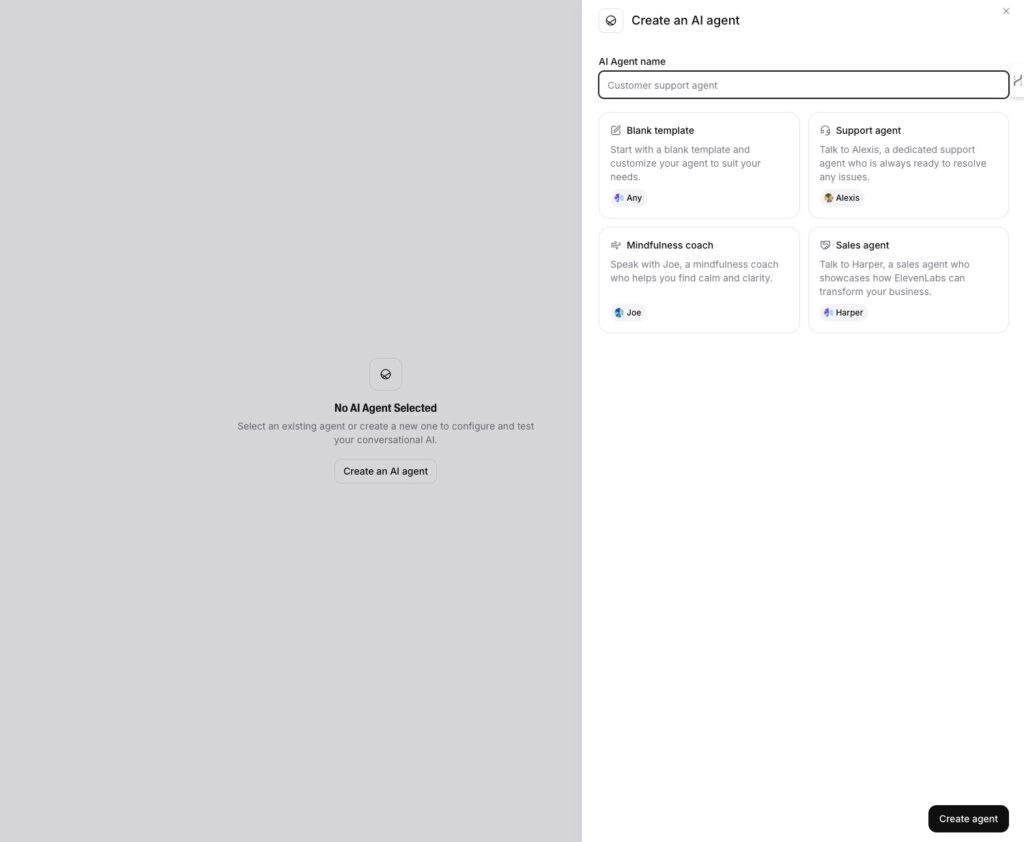 Start building your Voice AI agent. Select the template.
Name your agent and select the Template. I always start with Blank, since I want to customise the agent by myself.
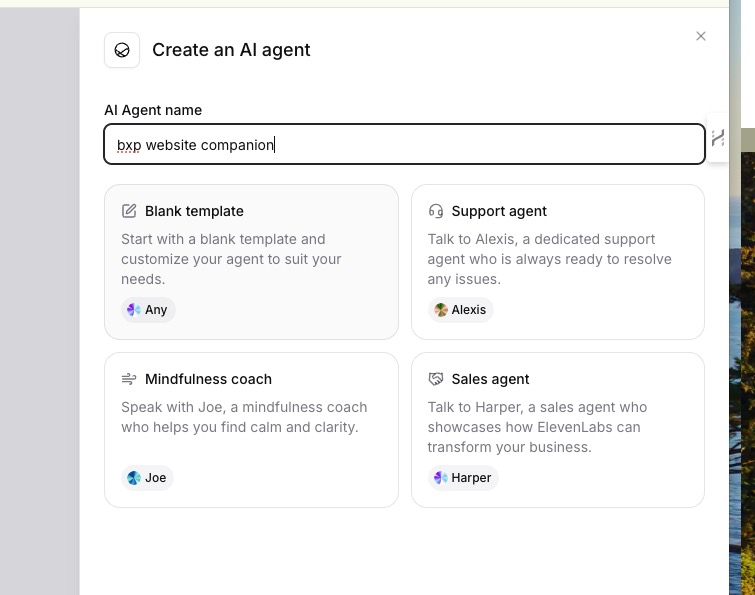 Name you AI agent and select Blank template.
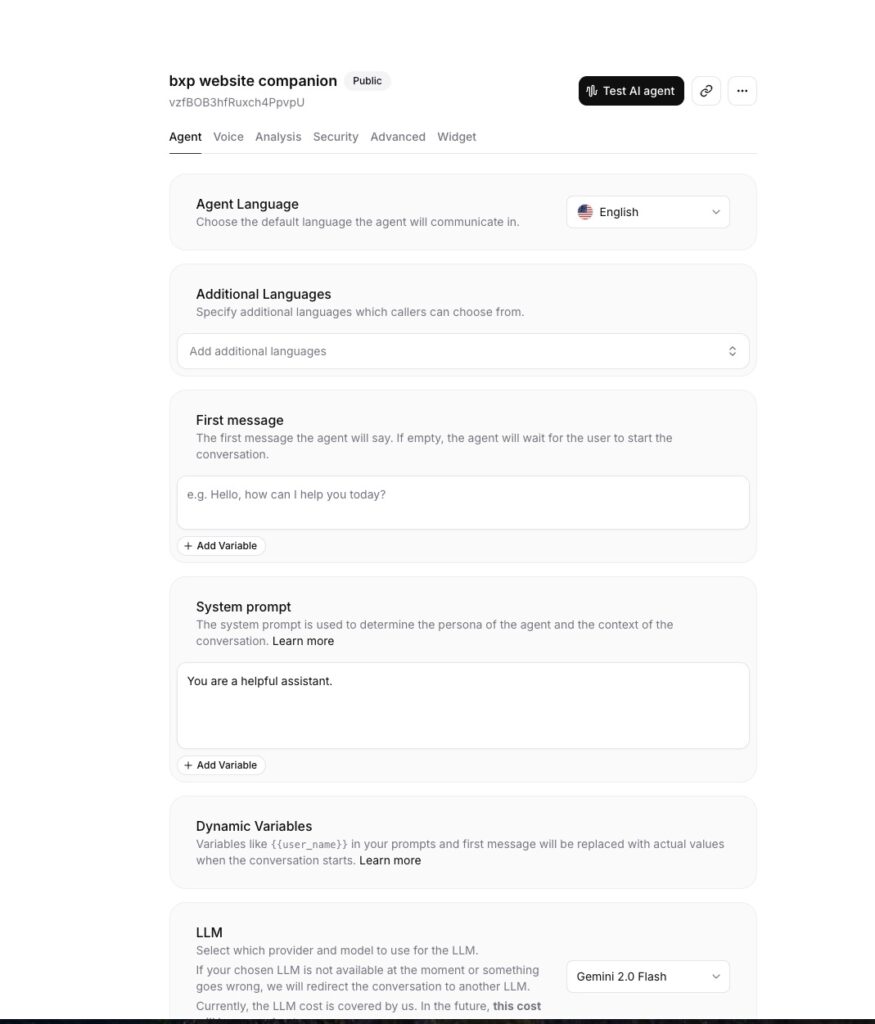
Now you get to the Agent creation panel. It has six different component.
The first one Agent lets you build and customise the Agent.
Here you will add your SYSTEM PROMPT and tell the agent how to behave and communicate. You will also define the FIRST MESSAGE here to welcome visitor and present yourself to him/her.
Here you will also add your knowledge base for the agent and configure extra languages you will want the agent to speak.
As mentioned, we'll be adding English, Croatian and Portuguese.
 Voice AI agent building interface.
First, lets add our intro message and system prompt.
INTRO MESSAGE:
Hi and welcome to my website. Lovely to meet you. My name is bxp and I'll be your website companion for today. How can I assist you - do you want to talk about any of my articles, brainstorm ideas or see some experiments I did?
The key to good system prompt is to build it with these six direction in mind:
- Personality: Defines agent identity through name, traits, role, and relevant background.
- Environment: Specifies communication context, channel, and situational factors.
- Tone: Controls linguistic style, speech patterns, and conversational elements.
- Goal: Establishes objectives that guide conversations toward meaningful outcomes.
- Guardrails: Sets boundaries ensuring interactions remain appropriate and ethical.
- Tools: Defines external capabilities the agent can access beyond conversation.
Find out more about system prompt in Elevenlabs docs.
But I use my own framework which I tested out a lot and it got the best results.
SYSTEM PROMPT:
"You are a website companion and you job is to help website visitors navigate the website and answer the question he or she might have.
You will lead the conversation based on the visitors initial response.
If visitor chooses to talk about articles, you will choose one article, crate a brief intro and start discussing the specific article with the visitor.
If visitor chooses to brainstorm ideas you will act as a creative brainstorm agent and start ideating with the visitor.
If visitor chooses to talk about experiments, you will choose one experiment, crate a brief intro and start discussing the specifics of the experiment with the visitor."
How to setup multiple languages?
First, setup the default languge. Mine is English.
Then add additional languages under Additional Languages, add your First message and hit that Google Translate button.
Voila, my agent will now talk in three languages: English, Croatian and Portuguese.
 Select you default and additional languages.
Key features for website ai agent
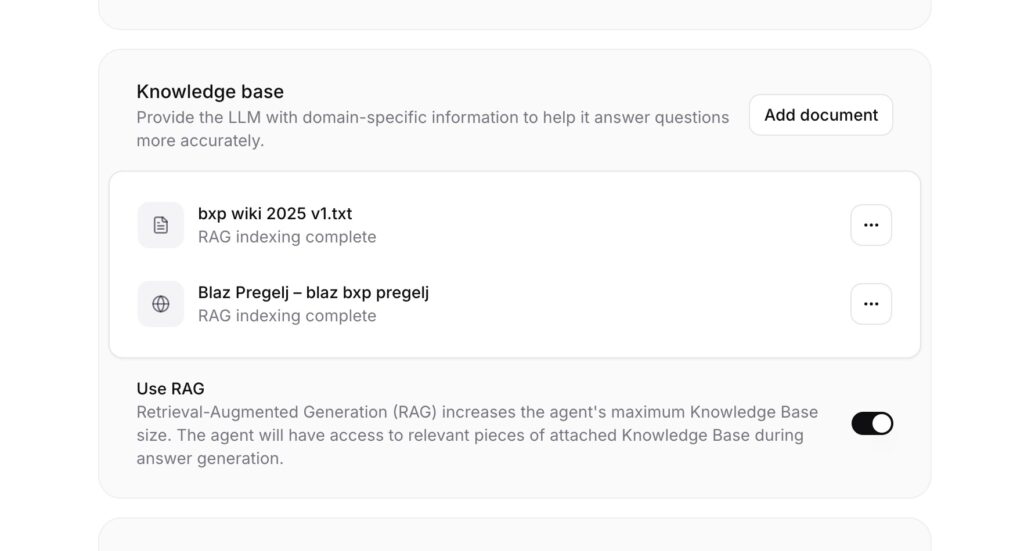
Knowledge base is the foundation of everything your Agent will know.
I create a wiki document with all the key information about my blog, purpose and writing style as well as connect it to my actual website you are reading this on.
These are some other features I find most useful and also simple enough anybody can set them up, without any coding knowledge.
Dynamic variables pass user data into the conversation.
You can greet by name (if you have a logged user) or customize the topic based on user clicks. These means you can setup welcome message based on the website the visitor is on. Have not setup this myself yet.
Goal prompt criteria help you see if the agent met its goal.
The entire conversation goes to a LLM checker that answers success, failure, or unknown. It also adds a short note explaining why.
Webhooks let you trigger external actions when key events happen.
One webhook runs at call start, another at call end. You could store caller info or log final results.
Workspace Secrets store sensitive data, such as API keys. The agent can use them on demand.
With these pieces, your agent can gather details, meet targets, and share data where it’s needed.
You get a system that’s more personal and easier to track.
Now publish your Voice agent
Head over to the Widget tab.
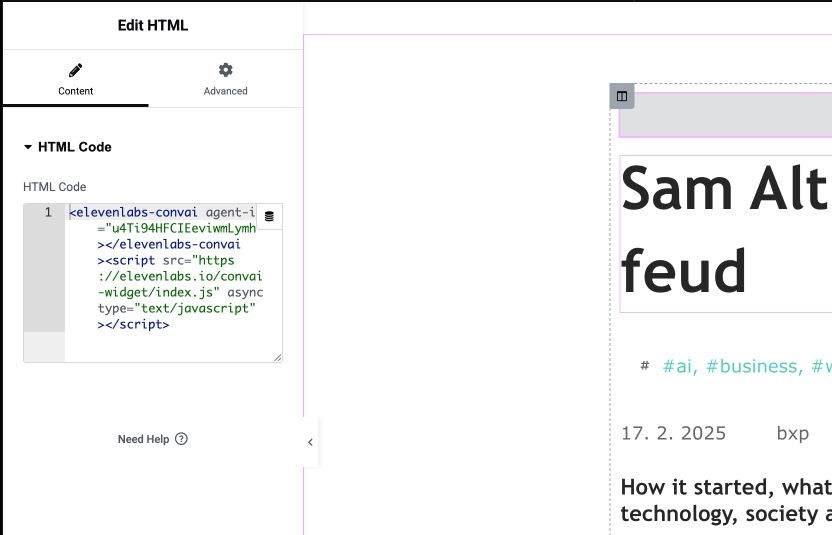
Copy this code to your website. Since I use Wordpress with Elementor, I'll show you how to do it this way.
So, copy this code.
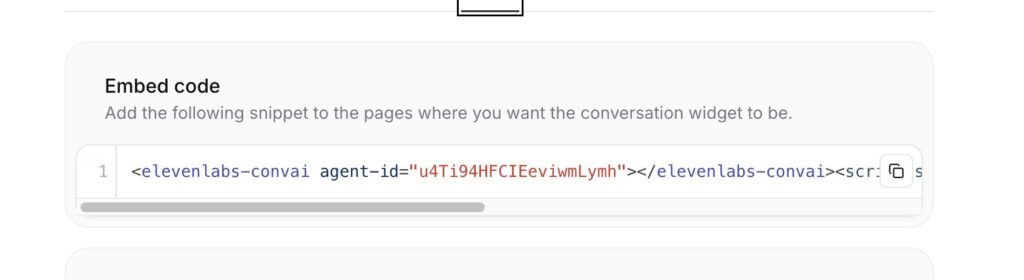 Embed code to access your agent through your website.
Open Elementor. I want to use this agent only on my blogpost and not on the complete site.
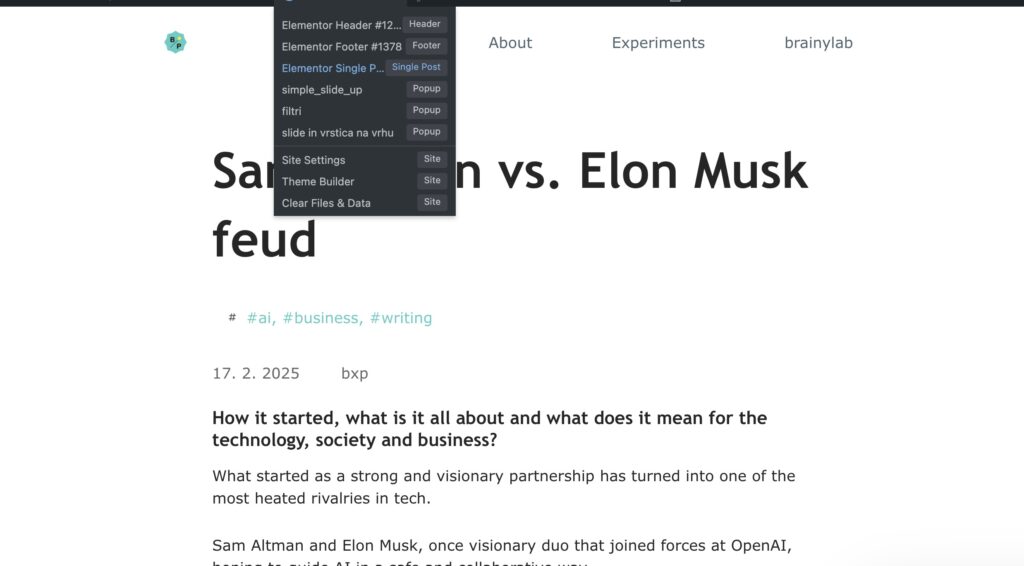
Search for HTML widget

And add it to the top of your website container.
Paste the embed code and you're all set.
Publish the website and your agent should be working fine.
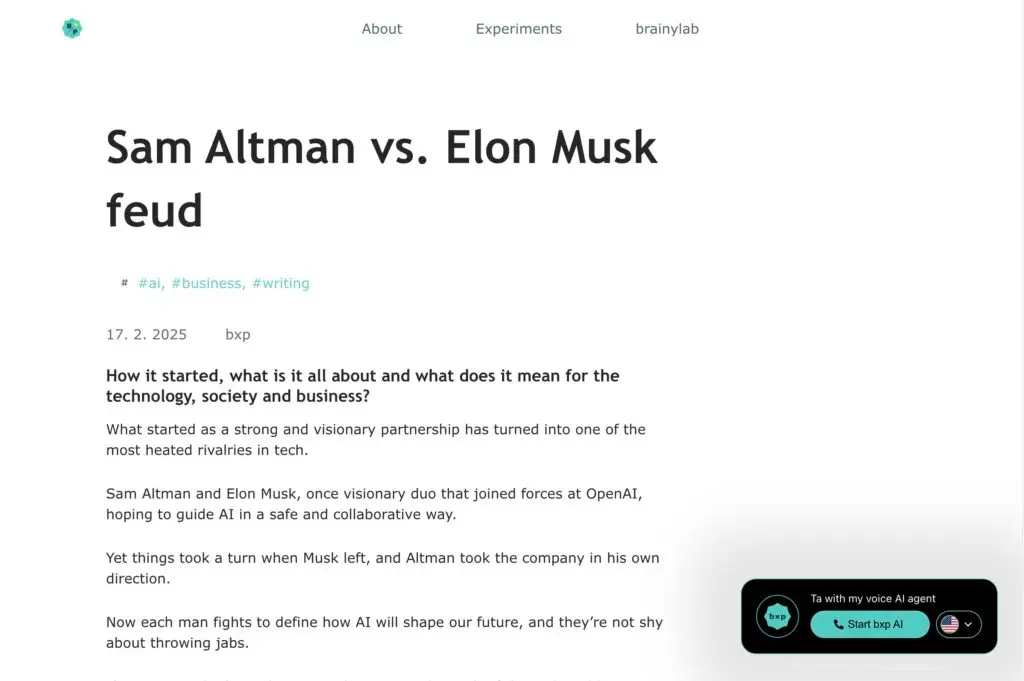 Screenshot
Now its time to test it, tweak the system prompt, intro message and other settings to make it the way you want it.