I recently started exploring ChatGPT Projects to understand its potential.
It’s a powerful tool for managing and automating workflows using AI.
I use it daily for my company brainylab, because now I have all the business conversations, creations and documents much better organised then before.
Sure, this is a feature Anthropic implemented a while back, but its still nice to see it in ChatGTP as well.
Here is a step-by-step tutorial on how you can start using ChatGPT Projects.
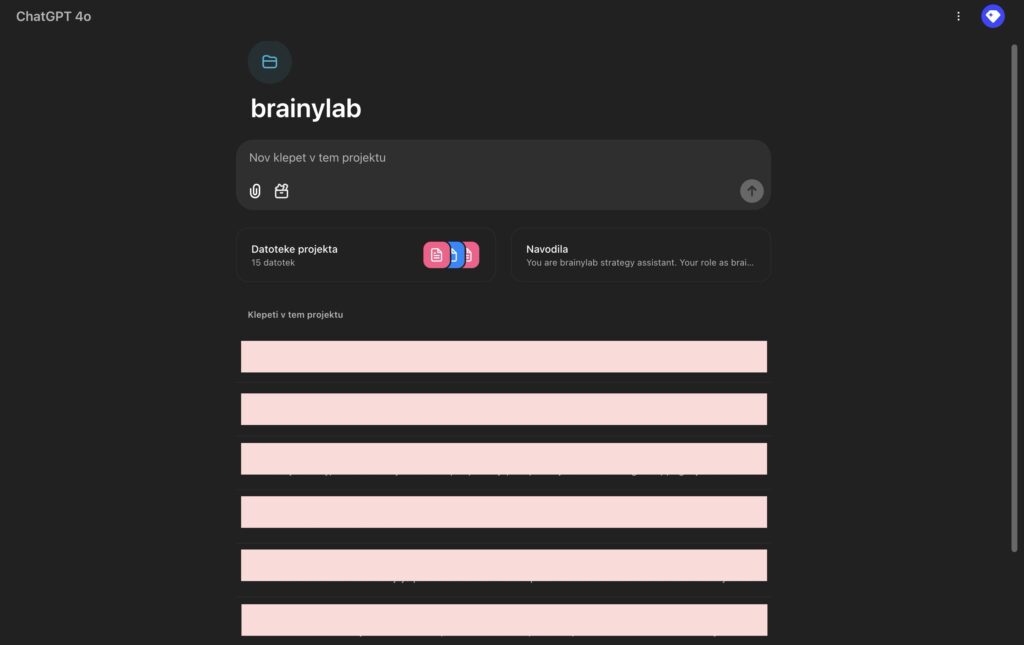
Step 1: Access ChatGPT Projects
Log in to your ChatGPT account. On the left sidebar, navigate to Projects.
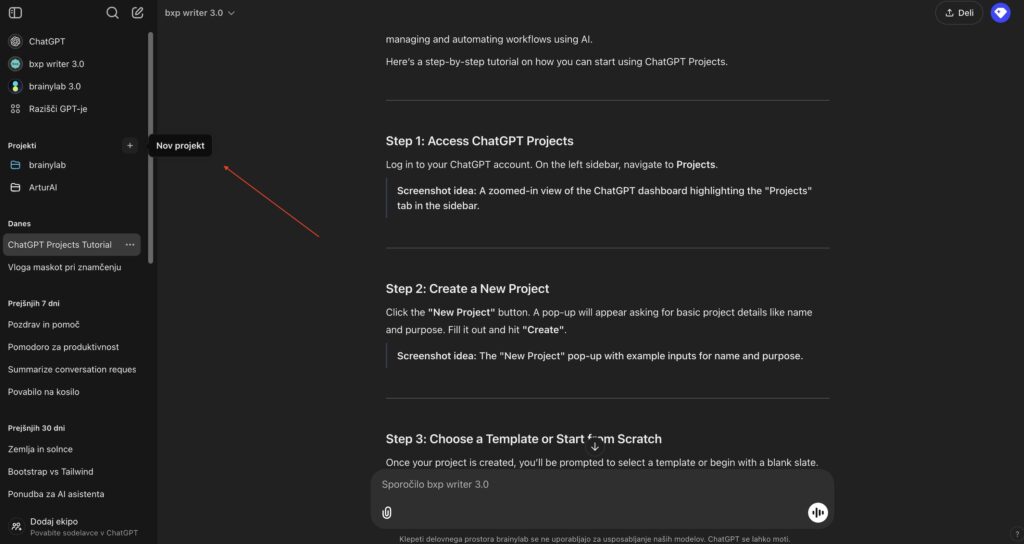
Step 2: Create a New Project
Click the “New Project” button. A pop-up will appear asking for basic project details like name and purpose. Fill it out and hit “Create”.
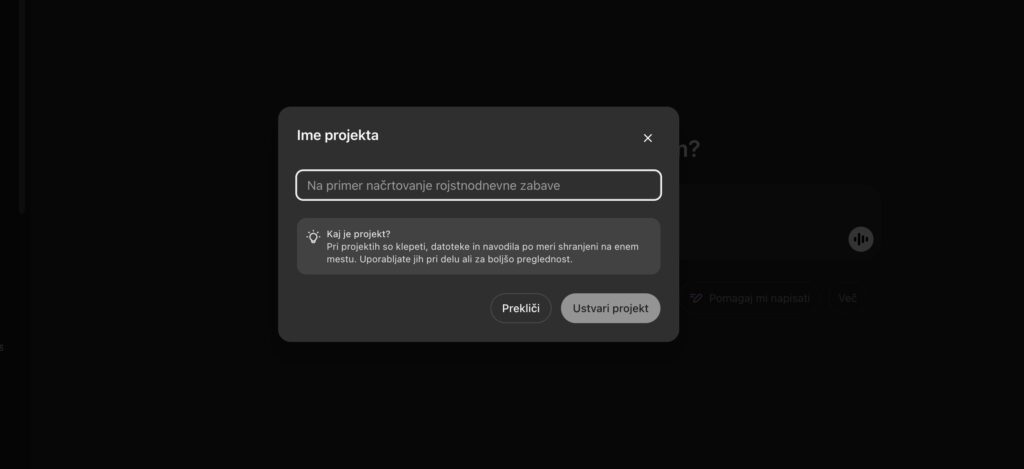
Step 3: Add Files to Your Project
One useful feature of ChatGPT Projects is the ability to upload files that the AI can access throughout the project.
To add files:
- Click “Add files” in your project interface.
- Upload any necessary data files or scripts, such as a CSV file for sales data or a Python script for analysis.
Note: Files added here are available globally to the project, unlike the chat window’s attachment option, which is specific to individual conversations.
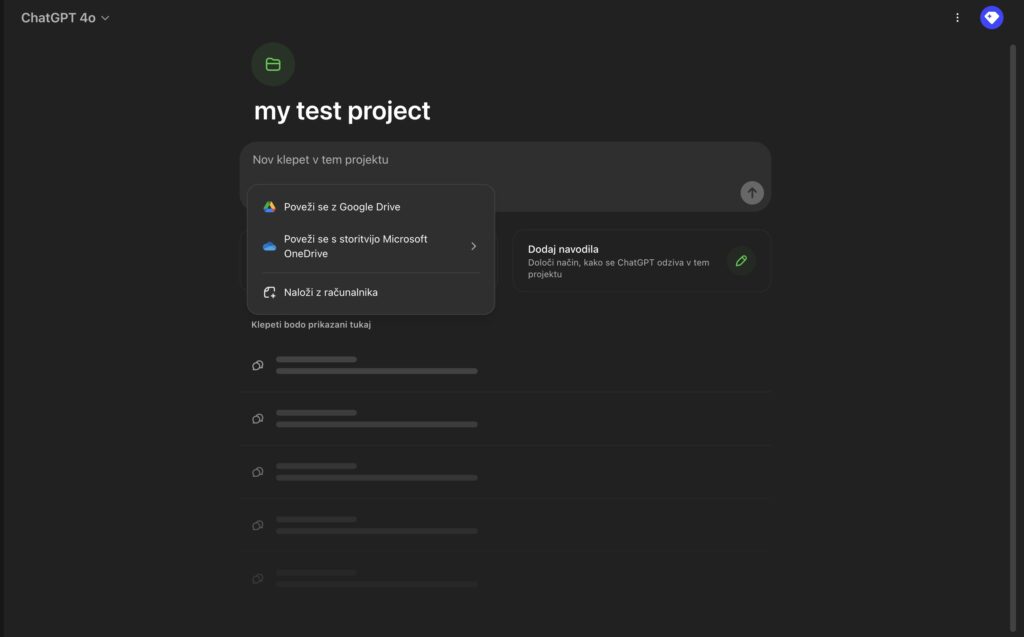
Also you can connect your Google Drive or Microsoft OneDrive and directly add new files to conversations.
Step 4: Set Custom Instructions
ChatGPT Projects let you take control by setting custom instructions for how the AI works. Think of it as giving the AI a playbook so you’re not stuck repeating yourself every time you start a new task.
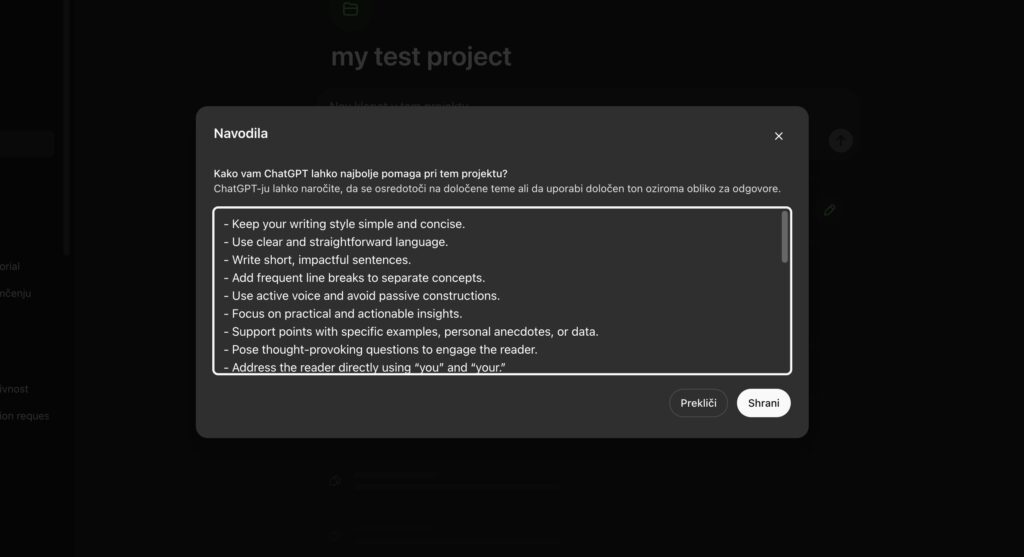
Click “Add instructions” in your project workspace.
This simple step ensures the AI aligns with your workflow from the get-go, saving time and keeping things consistent.
PROMPT for your personal writer with very human-like writing style
- Keep your writing style simple and concise.
- Use clear and straightforward language.
- Write short, impactful sentences.
- Add frequent line breaks to separate concepts.
- Use active voice and avoid passive constructions.
- Focus on practical and actionable insights.
- Support points with specific examples, personal anecdotes, or data.
- Pose thought-provoking questions to engage the reader.
- Address the reader directly using “you” and “your.”
- Steer clear of clichés and metaphors.
- Avoid making broad generalizations.
- Skip introductory phrases like “in conclusion” or “in summary.”
- Do not include warnings, notes, or unnecessary extras—stick to the requested output.
- Avoid hashtags, semicolons, emojis, and asterisks.
- Refrain from using adjectives or adverbs excessively.

Words to Avoid:

Accordingly, Additionally, Arguably, Certainly, Consequently, Hence, However, Indeed, Moreover, Nevertheless, Nonetheless, Notwithstanding, Thus, Undoubtedly, Adept, Commendable, Dynamic, Efficient, Ever-evolving, Exciting, Exemplary, Innovative, Invaluable, Robust, Seamless, Synergistic, Thought-provoking, Transformative, Utmost, Vibrant, Vital, Efficiency, Innovation, Institution, Integration, Implementation, Landscape, Optimization, Realm, Tapestry, Transformation, Aligns, Augment, Delve, Embark, Facilitate, Maximize, Underscores, Utilize, A testament to…, In conclusion…, In summary…, It’s important to note/consider…, It’s worth noting that…, On the contrary. Picture this, leverage.
Step 5: Organize Conversations
One standout feature of ChatGPT Projects is how it organizes your chats.
Conversations tied to a project stay in one place, making it easy to revisit past discussions or ideas.
Now you can go over your past conversations and add them to projects to update knowledge, context and reasoning.
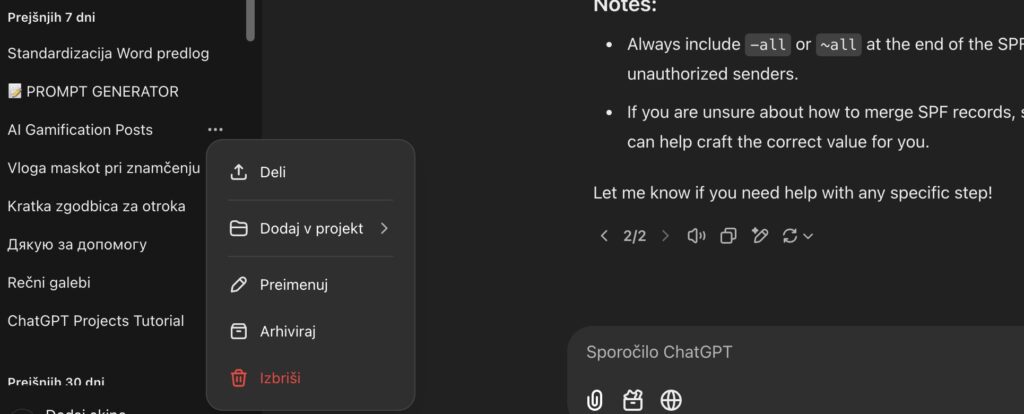
You should also rename conversations to reflect their purpose, since gpt is not the best at naming conventions.
For example, change “Untitled Chat” to “Q1 Sales Analysis” or “Website Redesign Ideas.”
This keeps everything organized and easy to find later.
Step 6: Assign Roles and Collaborate
If you work with a team account, you’ll appreciate the collaboration features.
Projects allow you to invite team members, assign roles, and share access.
Click on the diamond icon on the top right corner.
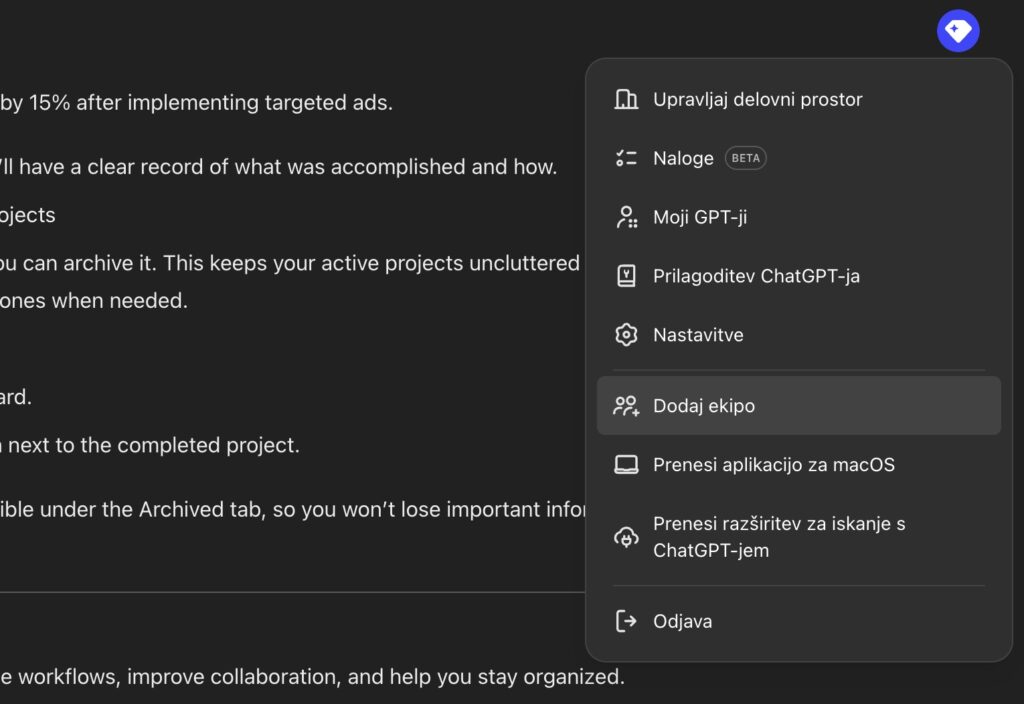
To do this:
- Go to your project settings.
- Click “Manage Members.”
- Add your teammates and assign permissions, such as Viewer, Editor, or Admin.
Everyone can see the same files, instructions, and chat history, which eliminates the back-and-forth of emailing files or sharing updates.
Step 7: Use Tasks to automate your Projects
One of the most powerful features of ChatGPT Projects is the ability to automate repetitive tasks.
This feature needs (and will get) a separate blogpost since its one of the most powerful features in ChatGPT.
Tasks let you set up workflows that the AI can execute automatically, saving you time and effort.
To create tasks:
- Navigate to the “Tasks” section within your project.
- Click “New Task” and give it a descriptive name, like “Weekly Report Generation” or “Data Cleanup.”
- Define the task’s parameters, such as the input data, expected outputs, or steps to follow.
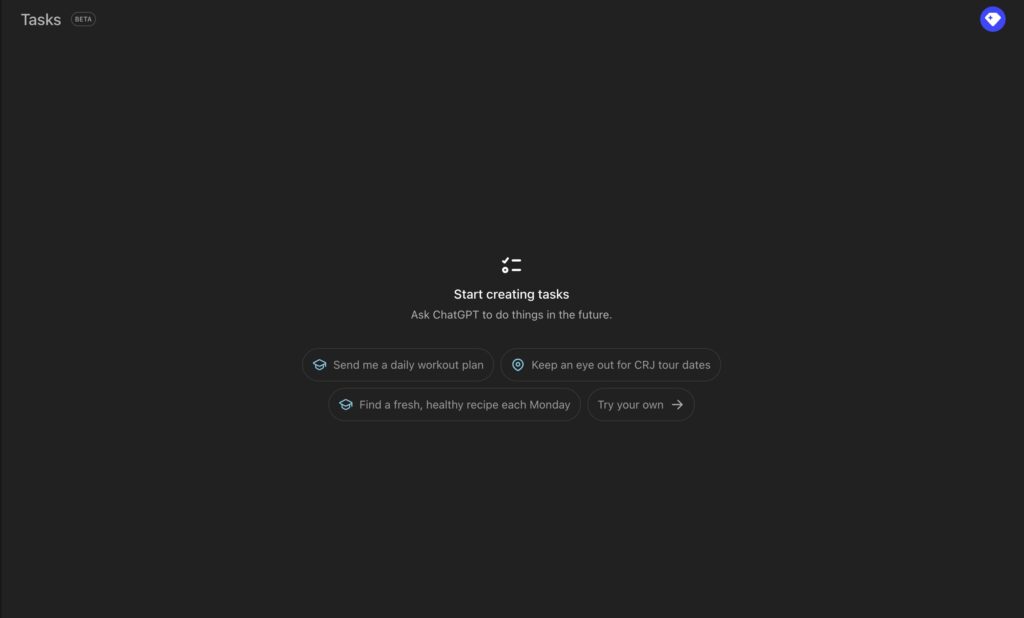
For example, you can automate generating weekly reports by uploading your raw data and setting a task to summarize trends, identify key metrics, and draft recommendations.
Once set up, you can rerun the task anytime with updated inputs.
Final thoughts
I love projects.
They allow me be more structured and organised when writing, creating concepts, building tools.
I use on two main ways:
As “permament” projects like project for my business.
The project is constant, but I udpate rules, files, conversations.
And the second use case is “Campaing” based.
When launching a new partner project, it also gets a ChatGPT project. I build couple of initial chats, and upload all the necessary files.
I then use it daily when thinking and brainstorming about the project.
Give it a try and see how it can help your daily operations.
Have fun!
